
Light dances across the canvas of our days, shifting in color, intensity, and direction with each passing hour. “light Mastery: Stunning Photography Techniques for Every Hour” invites photographers of all levels to embark on a journey through this ever-changing spectacle. Whether it’s the delicate hues of dawn, the vibrant clarity of midday, the warm embrace of golden hour, or the mysterious shadows of twilight, mastering light is the key to capturing breathtaking images. This article explores innovative techniques and insightful strategies to harness the unique qualities of light at every moment, empowering you to transform fleeting moments into stunning visual masterpieces.
Table of Contents
- Capturing the Magic of Golden Hour Lighting
- Techniques for Mastering Low Light Photography
- Utilizing Natural Light to Enhance Your Compositions
- Balancing Shadows and Highlights for Dynamic Images
- Harnessing Artificial Lighting for Nighttime Shoots
- Creative Use of Light to Transform Everyday Scenes
- To Conclude

Capturing the Magic of Golden Hour Lighting
The golden hour, those fleeting moments shortly after sunrise and before sunset, offers photographers a unique chance to capture scenes bathed in warm, soft light. This magical period transforms ordinary landscapes into stunning visuals, enhancing colors and adding a natural glow that is both flattering and evocative. Understanding how to harness this light can elevate your photography, bringing a touch of enchantment to every shot.
To make the most of golden hour lighting, timing and readiness are key. arrive early to scout locations and compose your shots before the light begins to shift. Utilize the low angle of the sun to create long shadows and highlight textures, adding depth and dimension to your images. Adjust your camera settings to accommodate the changing light—opening your aperture to allow more light in,and adjusting the shutter speed to avoid overexposure. here’s a quick reference to help you plan your golden hour sessions:
| Aspect | Tips |
|———————-|———————————————-|
| Timing | 30 minutes after sunrise or before sunset |
| Camera Settings | Wide aperture (f/2.8–f/5.6), ISO 100-400 |
| Composition | Utilize silhouettes and backlighting |
| Preparation | Scout locations in advance |
Embracing the golden hour also means being adaptable.weather conditions can dramatically alter the quality of light, offering everything from soft, diffused hues to vibrant, fiery skies. Experiment with different angles and perspectives to capture the ever-changing light, and don’t be afraid to revisit locations at different times to see how the light transforms your subject. By mastering the art of golden hour photography, you can consistently produce images that resonate with warmth and natural beauty.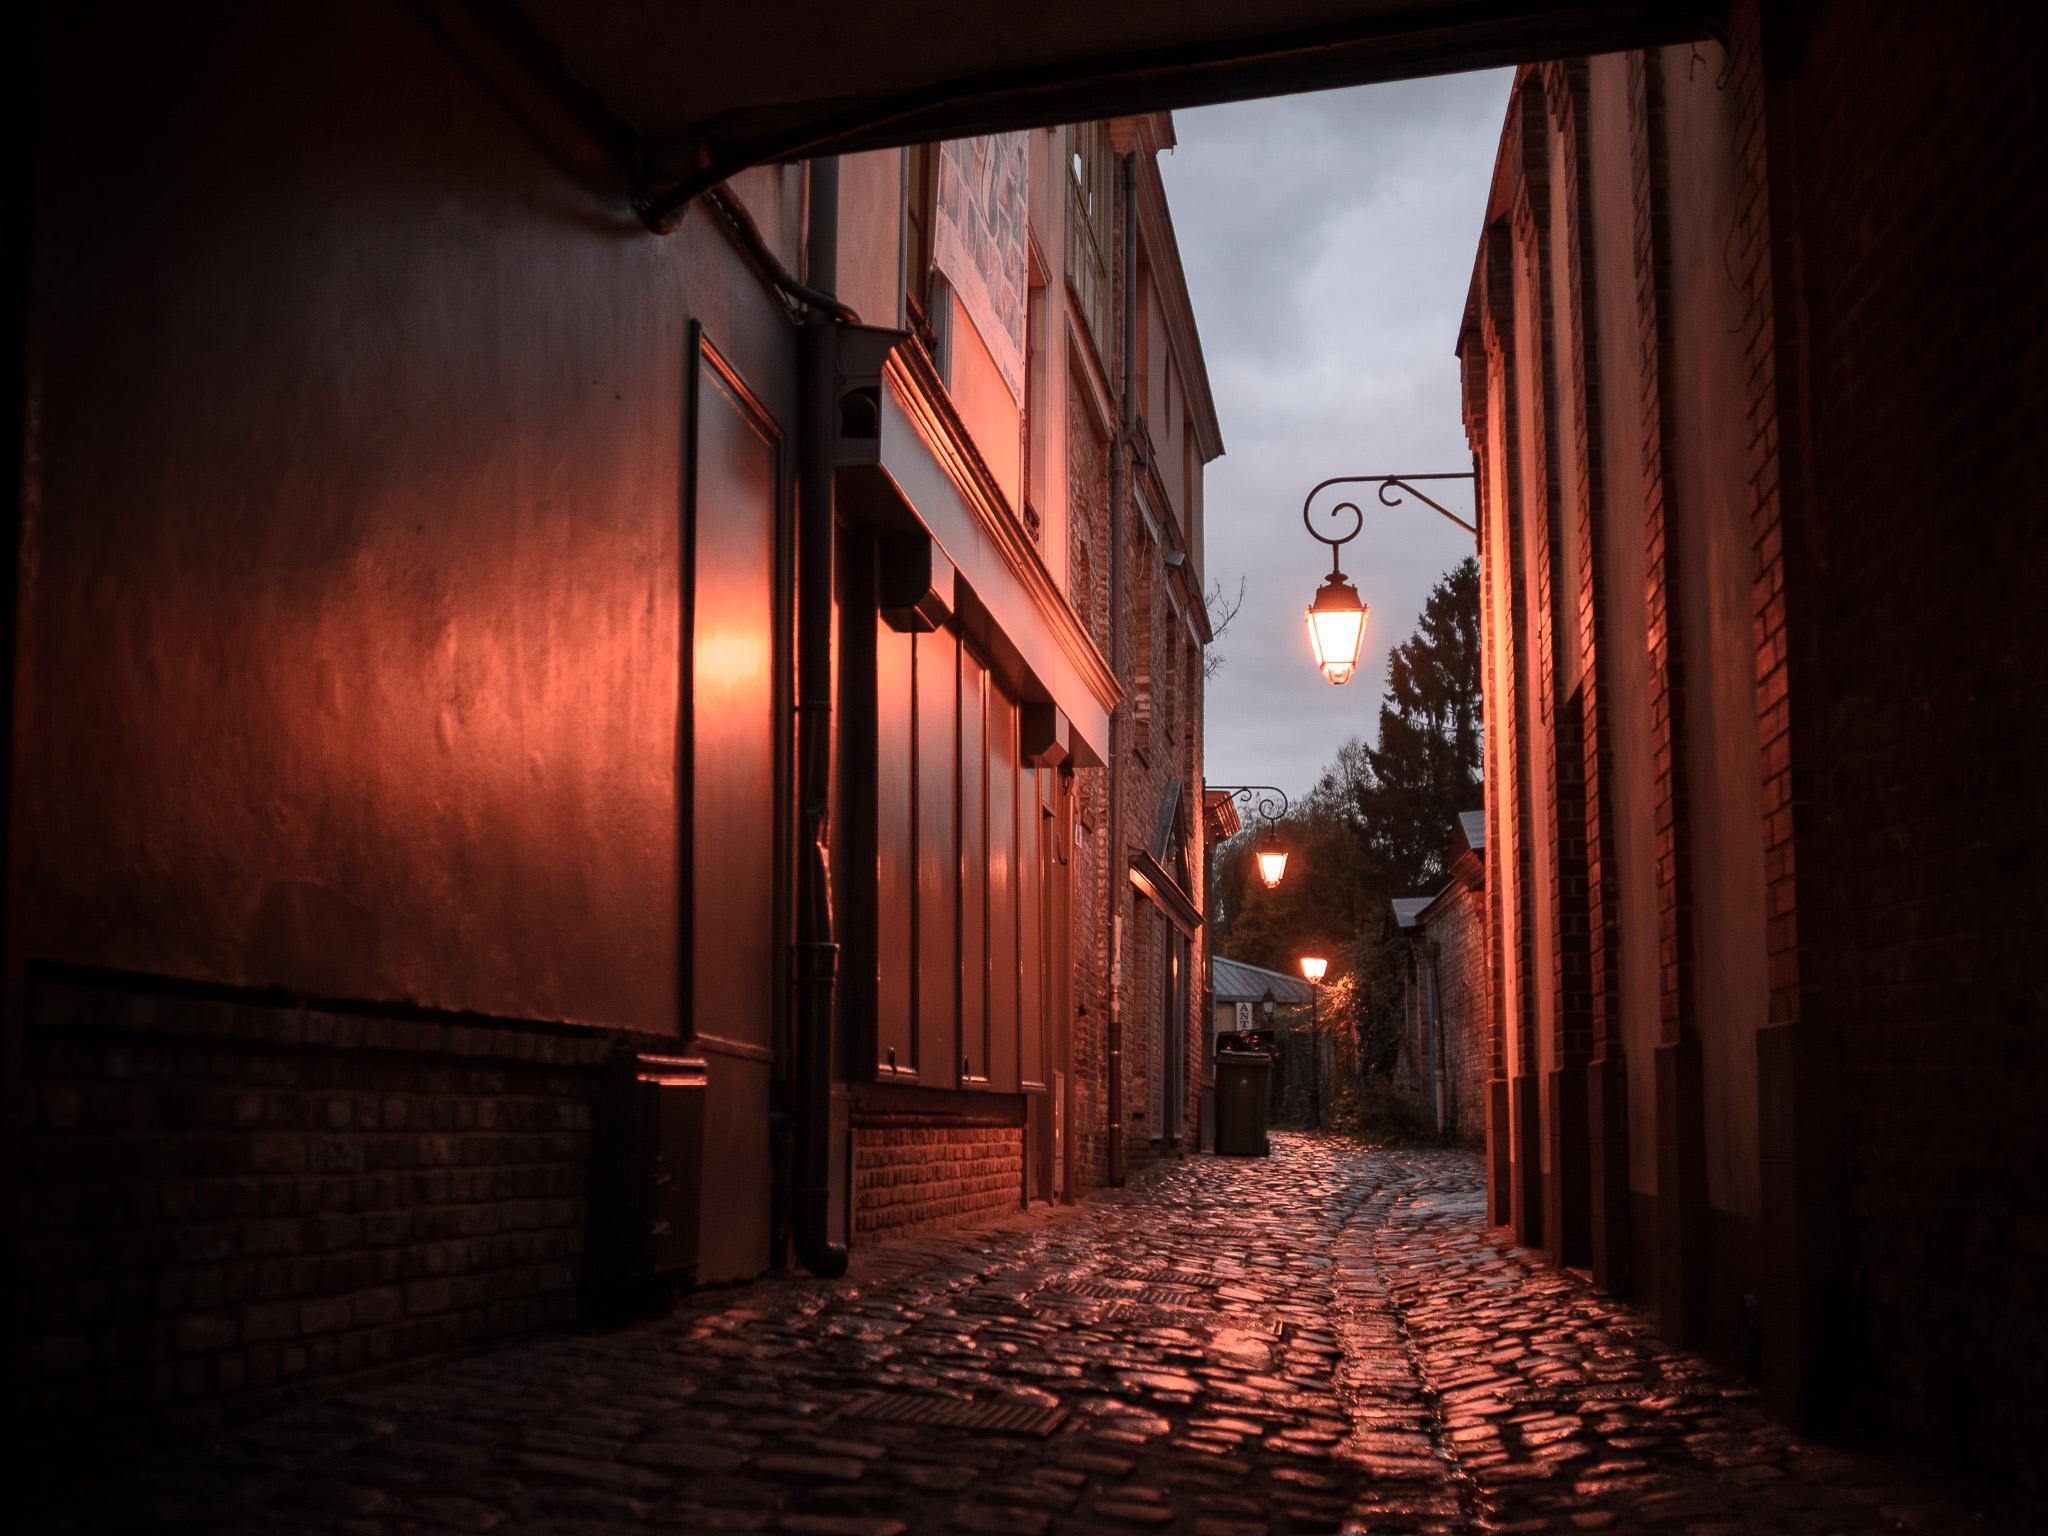
Techniques for Mastering Low Light Photography
Capturing stunning images in low light requires a blend of technical skill and creative intuition.One basic technique is mastering the use of aperture. Using a wide aperture (small f-number) allows more light to enter the lens, creating a beautifully blurred background while keeping your subject sharp. Pairing this with a slower shutter speed can further enhance the exposure,but it necessitates a steady hand or the use of a tripod to prevent blur from camera shake.Another essential aspect is controlling ISO sensitivity. Increasing the ISO allows your camera to be more receptive to available light, enabling clearer images in darker environments.However, higher ISO settings can introduce noise, so finding the right balance is crucial. Utilizing noise reduction techniques in post-processing can definitely help maintain image quality without sacrificing brightness.
Essential Low Light Settings
| Setting | Suggestion | Purpose |
|——————|———————-|———————————————|
| Aperture | f/1.8 – f/2.8 | Maximizes light intake and creates depth |
| ISO | 800 – 3200 | Balances brightness with minimal noise |
| shutter Speed | 1/60 – 1/15 seconds | Ensures sufficient exposure without blur |
| Focus Mode | manual or Single AF | Achieves sharp focus in low visibility |
In addition to these settings, incorporating a fast lens with a wide maximum aperture and utilizing image stabilization features can considerably enhance low light performance. Experimenting with different compositions and light sources, such as ambient streetlights or natural moonlight, can also add depth and mood to your photographs.By combining these techniques, photographers can confidently navigate low light scenarios and produce captivating, luminous images at any hour.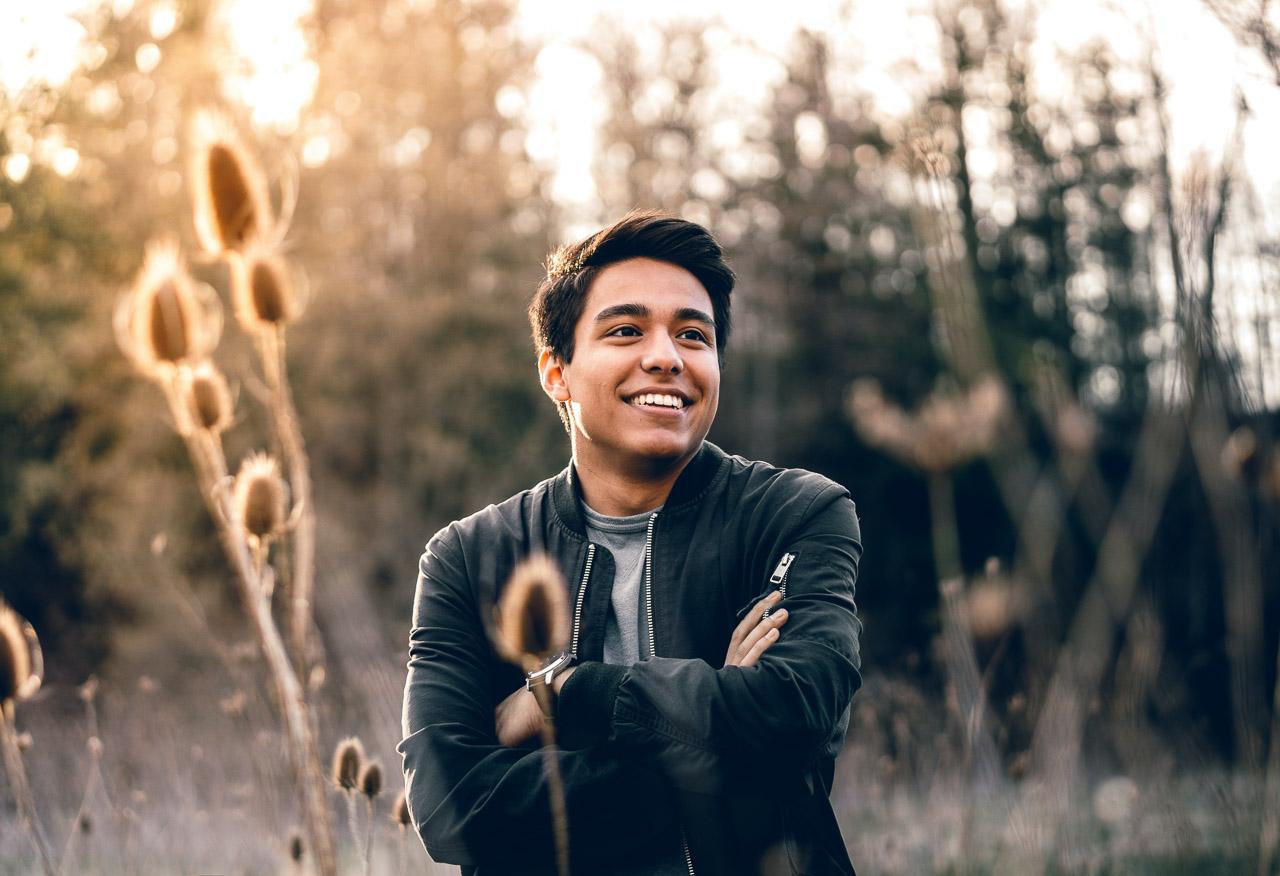
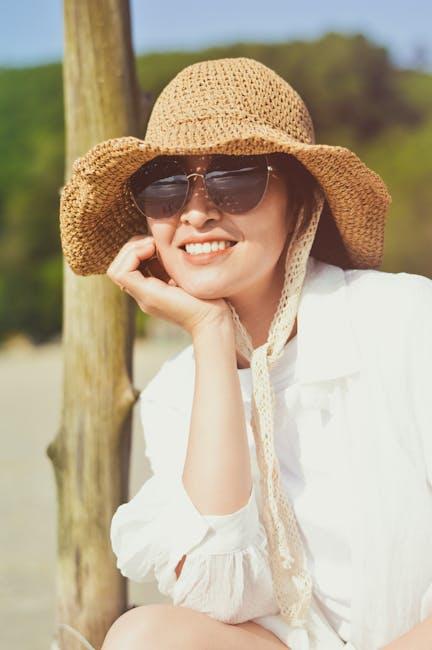
Utilizing Natural Light to Enhance Your Compositions
Harnessing natural light is a fundamental skill that can transform your photography, adding depth, mood, and authenticity to your images. unlike artificial lighting,natural light offers a dynamic range that changes throughout the day,providing endless opportunities to experiment with shadows,highlights,and color tones. By observing and adapting to these variations, photographers can create compelling compositions that resonate with viewers.
One effective technique is to shoot during the golden hours—shortly after sunrise and before sunset—when the light is soft and warm. This period casts gentle shadows and imbues subjects with a natural glow, enhancing textures and details without the harsh contrasts often seen midday. Conversely, the blue hour, just before sunrise and after sunset, bathes scenes in a cool, serene light, perfect for creating atmospheric and moody photographs.
Integrating natural light into your compositions also involves understanding the direction and quality of light. Side lighting can emphasize textures and create dramatic contrasts, while backlighting can produce striking silhouettes and rim highlights. Additionally, diffused light on cloudy days offers a soft, even illumination ideal for portraiture and still life, minimizing harsh shadows and reducing glare.
| Time of Day | Light Quality | Best Uses |
|————-|——————–|———————————-|
| Morning | Soft & Warm | Portraits, landscapes |
| Midday | Shining & Harsh | Architectural details, high-contrast scenes |
| Golden Hour | Warm & Diffused | Warmth in landscapes, romantic scenes |
| Blue Hour | Cool & Soft | Cityscapes, silhouettes |
| Overcast | Even & Diffused | Portraits, macro photography |
By thoughtfully utilizing natural light and being mindful of its ever-changing nature, you can elevate your photography and master the art of composition in every hour.
Balancing Shadows and Highlights for Dynamic Images
achieving a harmonious balance between shadows and highlights is essential for creating visually compelling photographs. This delicate interplay adds depth and dimension, transforming flat images into dynamic compositions. start by mastering your camera’s exposure settings. By carefully adjusting the aperture, shutter speed, and ISO, you can control the light entering the lens, ensuring that neither the dark areas become too murky nor the bright spots lose their detail.In challenging lighting conditions, tools such as reflectors and diffusers become invaluable.Reflectors can bounce natural light into shadowed regions, illuminating your subject without the harshness of direct sunlight. Conversely, diffusers soften intense light, reducing harsh shadows and preventing highlights from becoming overexposed. Additionally, graduated neutral density filters help balance the exposure between the sky and the foreground, maintaining detail across varying light intensities.Post-processing further enhances the balance between shadows and highlights. Techniques like High Dynamic Range (HDR) imaging combine multiple exposures to retain detail in both dark and bright areas. Fine-tuning curves and using shadow/highlight adjustments in editing software allow for precise control, ensuring that your final image maintains a natural yet striking appearance.
| Technique | Purpose |
|——————————–|———————————————|
| Adjusting Exposure Settings | Control overall light and dark balance |
| Reflectors and Diffusers | Manipulate natural light for even lighting |
| graduated ND Filters | Balance sky and foreground exposures |
| HDR Imaging | Merge exposures to enhance dynamic range |
| post-Processing Adjustments | Refine shadows and highlights for depth |
By thoughtfully applying these strategies, photographers can master the art of balancing shadows and highlights, resulting in images that are both dynamic and richly detailed.
Harnessing Artificial Lighting for Nighttime Shoots
Nighttime photography offers a unique canvas were shadows and artificial lights interplay to create captivating images. Mastering artificial lighting is essential for transforming the darkness into a vibrant scene full of depth and emotion. Whether you’re capturing the bustling energy of city streets or the serene glow of a moonlit landscape, understanding how to effectively use artificial light sources can elevate your nighttime shots to stunning new heights.
One of the fundamental techniques is balancing ambient light with your own artificial sources. This balance ensures that your subjects are well-lit without overpowering the natural nocturnal ambiance. Utilizing tools like LED panels, strobes, or even portable flashlights allows you to shape and direct light precisely where it’s needed. Additionally, experimenting with light modifiers such as softboxes or reflectors can definitely help soften shadows and create a more flattering illumination on your subjects.
Color temperature plays a crucial role in setting the mood of your nighttime photographs. Warmer light sources, like street lamps and neon signs, can add a cozy and inviting feel, while cooler lights can evoke a sense of mystery or modernity. Adjusting your camera’s white balance settings or using gels on your lights can definitely help harmonize these colors, creating a cohesive and visually appealing image.
To streamline your nighttime shooting process,consider the following table that outlines common artificial light sources and their best uses:
| Light Source | Best Uses | Tips |
|——————–|————————————–|—————————————-|
| LED Panels | Portraits,product shots | Use adjustable brightness and color |
| strobes | High-speed action,low-light scenes | Sync with camera for precise timing |
| Portable Flashes | Street photography,events | Bounce light off surfaces for softness |
| Neon Signs | Urban landscapes,creative effects | Incorporate as natural light elements |
| String Lights | Ambient settings,decorative backgrounds | Experiment with different arrangements |
By thoughtfully integrating artificial lighting into your nighttime photography,you can unlock endless creative possibilities. Embrace the challenge of the dark and let your mastery of light transform ordinary scenes into remarkable works of art.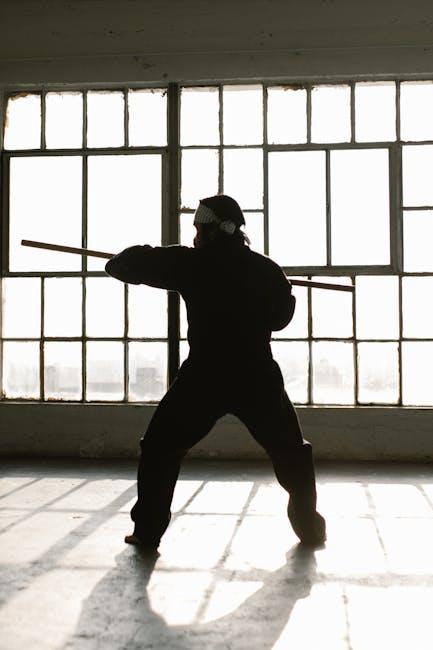
Creative Use of Light to Transform Everyday Scenes
Lighting is the invisible brushstroke that can turn a mundane moment into a masterpiece.By understanding and manipulating light,photographers can unveil the hidden beauty in everyday scenes. Whether it’s the soft glow of dawn or the dramatic shadows of twilight, each lighting condition offers unique opportunities to enhance your images.
One creative technique is using natural reflections to add depth and interest. Puddles, glass surfaces, and shiny objects can mirror light in captivating ways, creating symmetrical compositions or unexpected color pops. Another approach is playing with silhouettes, where the subject absorbs light against a bright background, emphasizing shape and form over detail. Additionally, introducing artificial light sources like fairy lights or street lamps can add a magical or urban touch, especially during the golden and blue hours.
Experimenting with light angles can also dramatically alter the mood of your photographs. Side lighting can highlight textures and create dynamic contrasts, while backlighting can produce ethereal halos and emphasize outlines. By shifting your position relative to the light source, you can discover new perspectives and bring a fresh dimension to familiar scenes.
| Light Technique | Best Time | effect |
|———————-|——————–|—————————–|
| Natural Reflections | Morning/Evening | Adds symmetry and depth |
| Silhouette Shooting | Sunset/Sunrise | Emphasizes shape and form |
| Artificial Accents | Night | Creates magical or urban vibes |
| Side Lighting | Midday | Highlights textures and contrasts |
| Backlighting | Golden Hour | Produces halos and outlines |
Harnessing these creative lighting techniques can transform the ordinary into extraordinary,allowing you to master the art of light and capture stunning photographs at any hour.
to Conclude
As the sun arcs across the sky and the day transitions through its many moods, mastering light unlocks endless possibilities for stunning photography. Whether capturing the fleeting golden hour or the subtle hues of twilight, understanding and harnessing light empowers every photographer to tell their unique story.Embrace these techniques,experiment with each passing hour,and let your images illuminate the beauty that surrounds us every moment. With light as your guide, the world becomes a canvas of infinite potential, waiting to be explored through your lens.

Composition
Creative Lighting
Exposure
Golden Hour
Indoor Photography
Landscape Photography
Light Mastery
Lighting Techniques
Natural Light
Night Photography
outdoor photography
Photo Composition
Photography
Photography Tips
Photography Tutorial
Portrait Photography
Studio Lighting
Sunrise Photography
Sunset Photography
Time of Day Photography